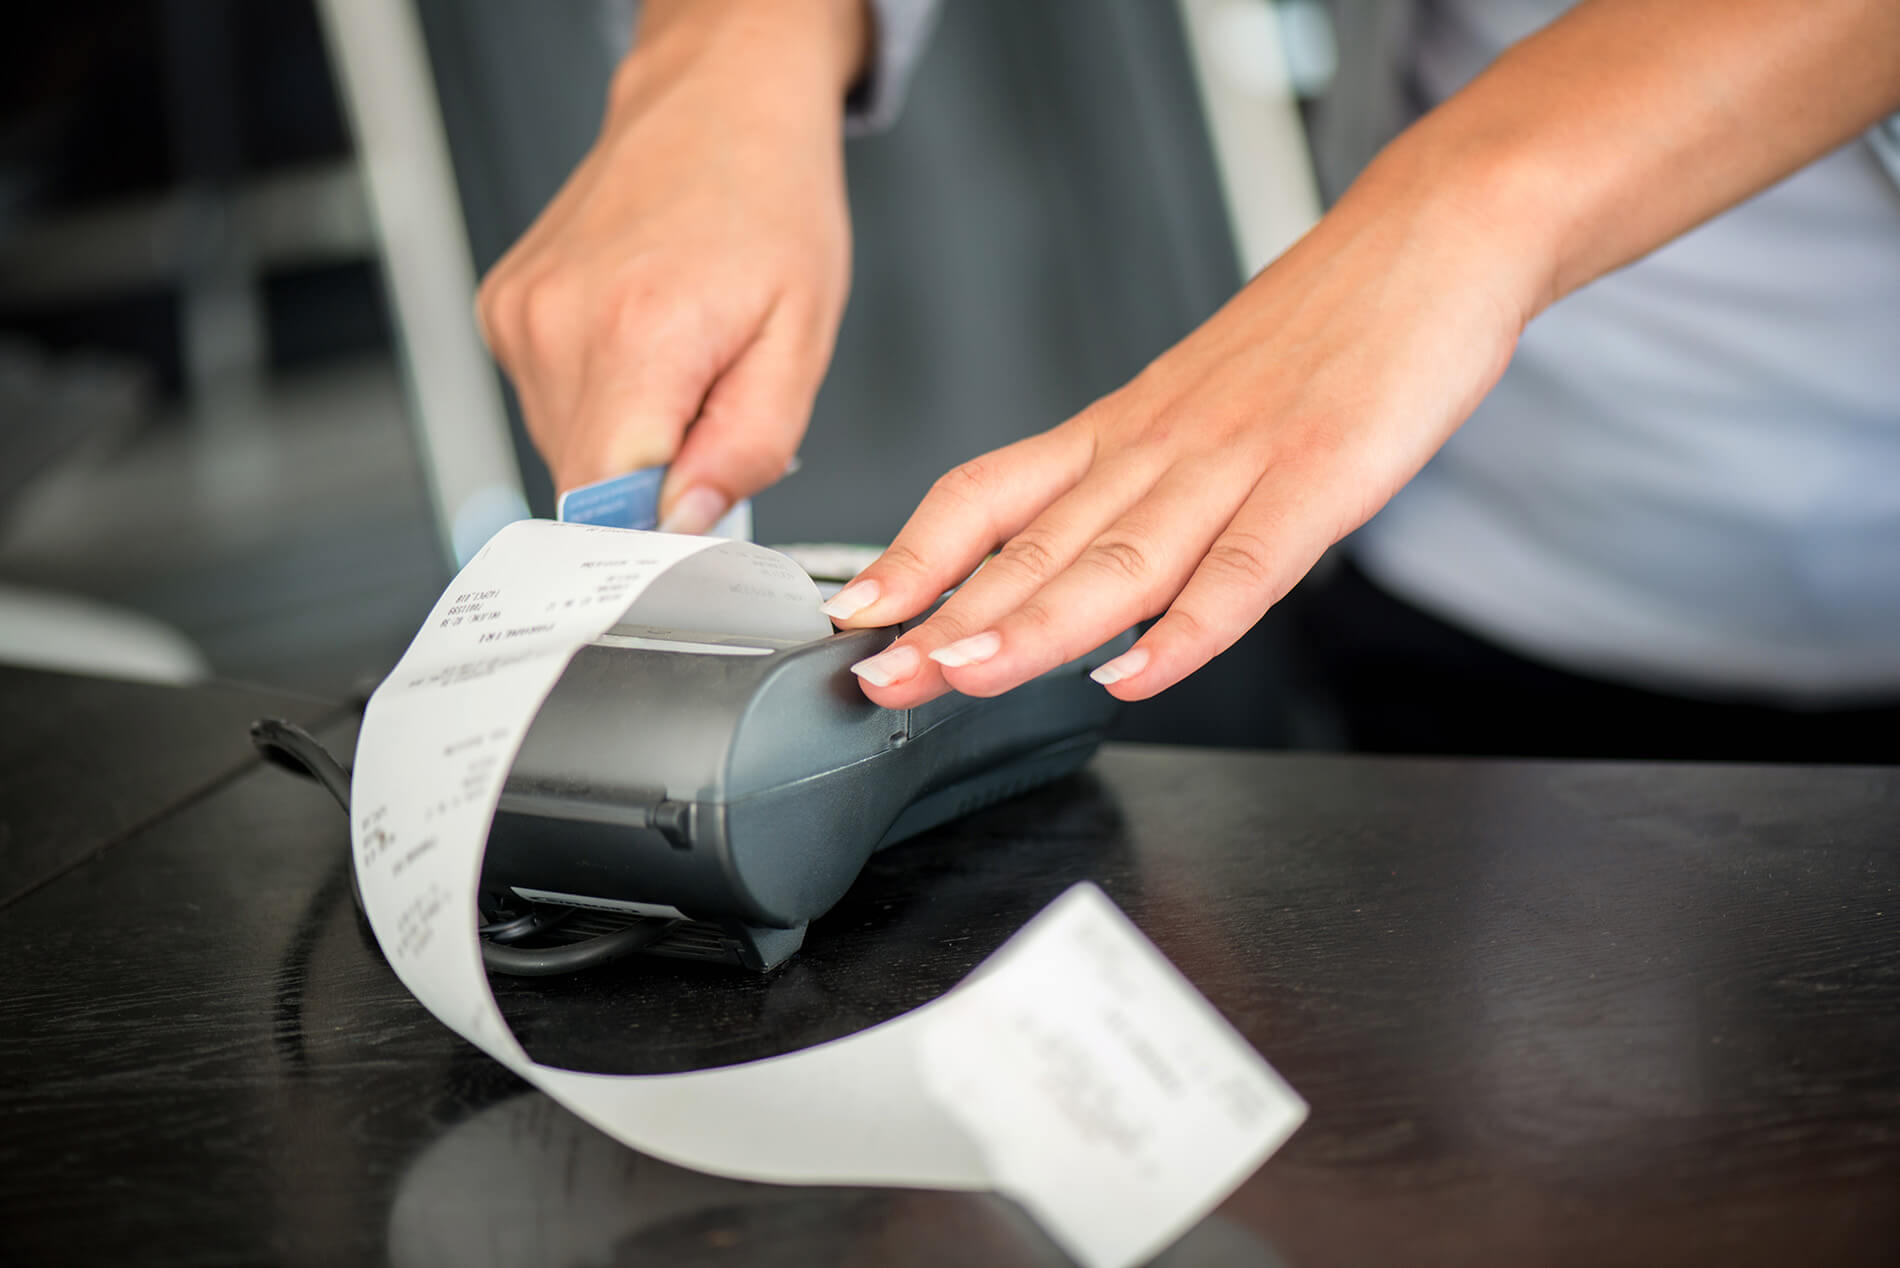
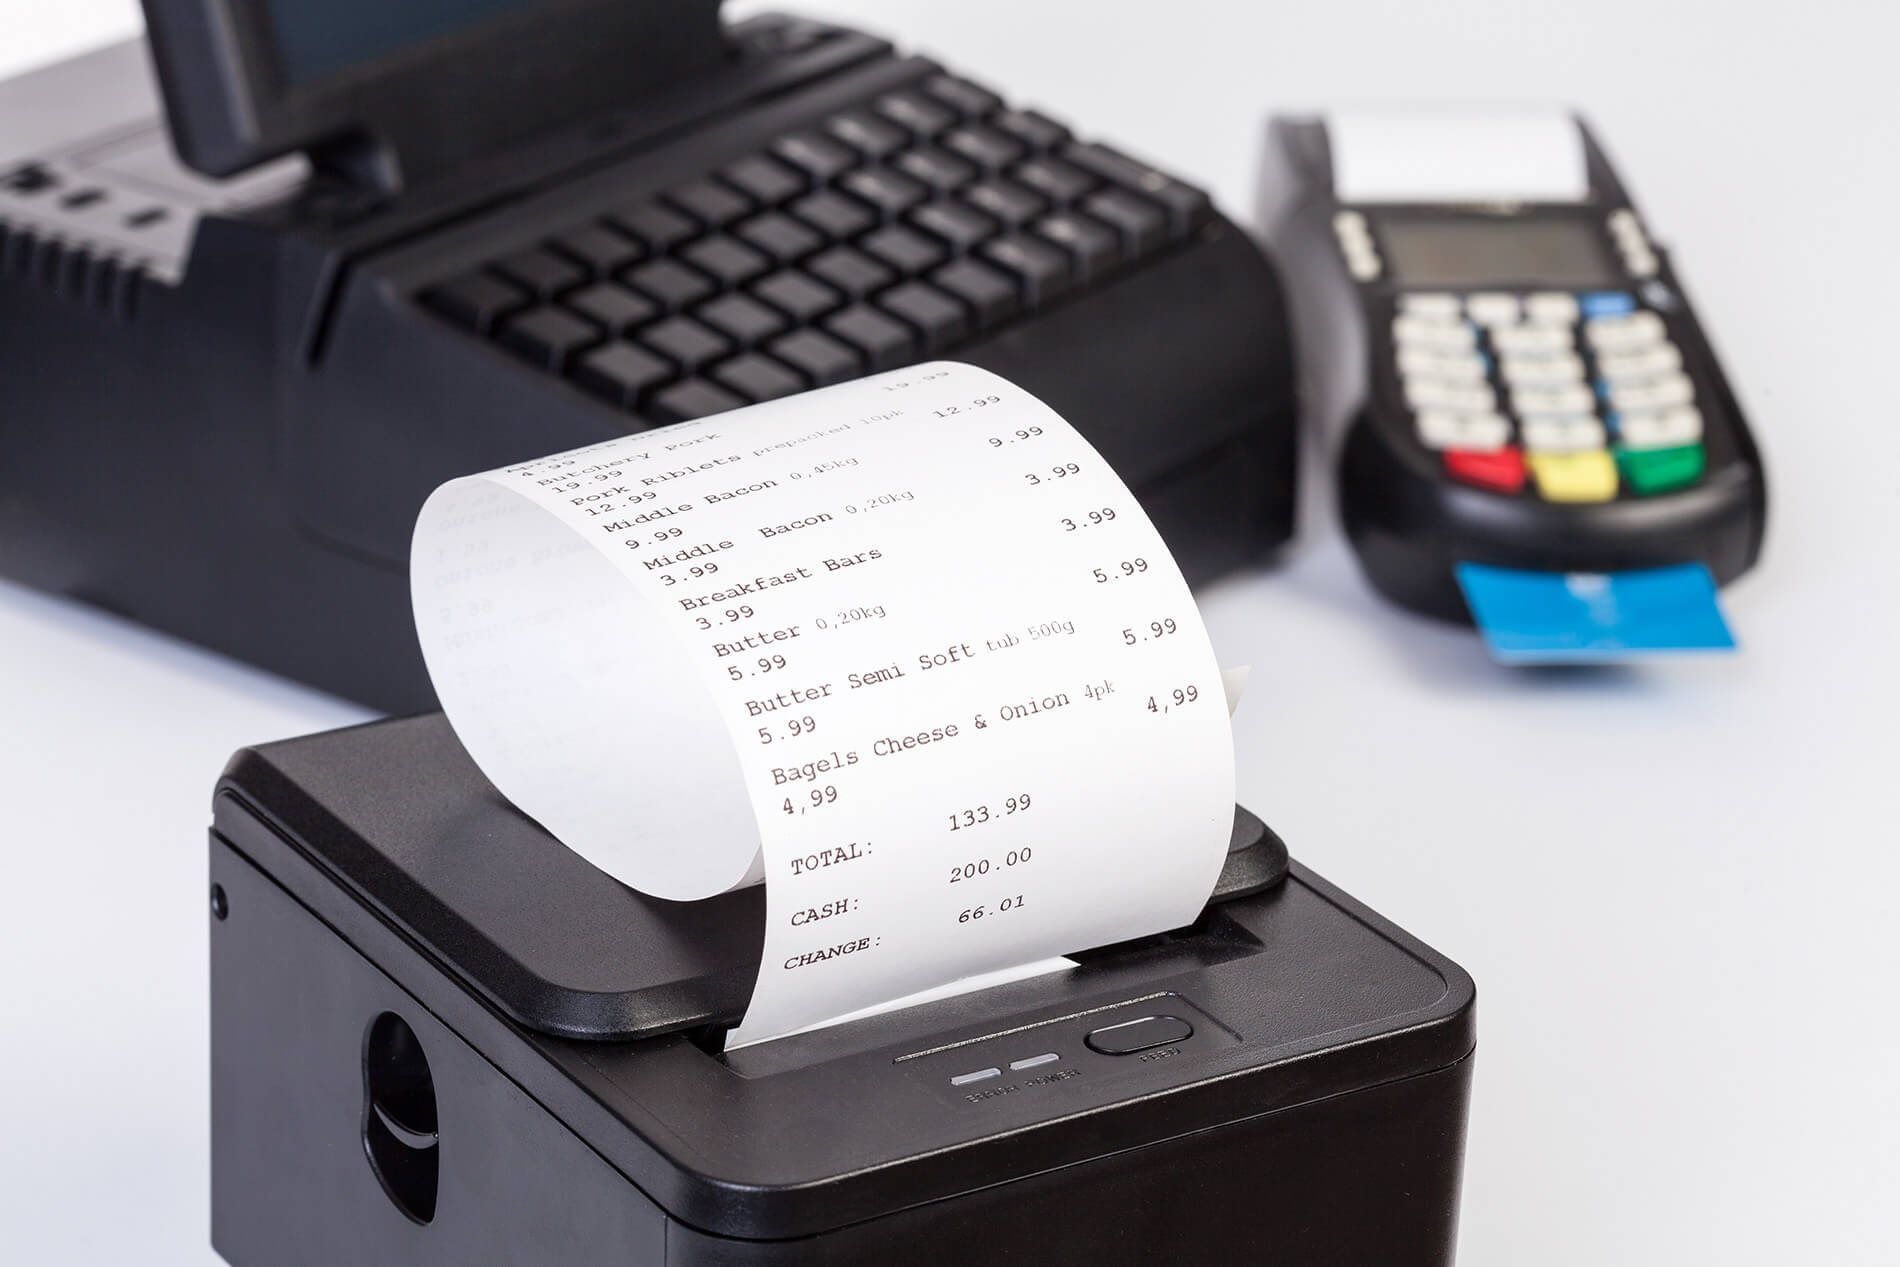
The POS receipt (or Sale receipt) is an archive that regularly contains date and time of procurement, points of interest of thing acquired, price tags and sums, required data about the arrival strategy of offers and technique for installment.
Sale receipts encourage you to ascertain deals assess on the items. It will help you to make a rundown of offers salary and deals charge owed. Sale receipts will help you to record day by day or week by week deals and introduced to those clients who make full installment against buy. In the event that client pays some propel then it won’t regard utilize Sale receipts. Sale receipts are just utilized as a part of the money deal and require full installment at an opportunity to record the deal. In the event that you need to fulfill all clients and need to keep up the precision of offers enrolls then you need to plan standard Sale receipts.
How to configure your custom POS receipt?
Each business has its own demands. Many Magestore customers look for a way to change their business’ receipt or invoice format. It is quite frequent to receive a request of changing the receipt title, adding a logo, or a signature block at the bottom of the receipt where customers can sign in.
If you use another POS system, you need to ask the consultant if their product allows doing the customization. Normally, if you want to add these changes with Magestore Magento POS, you can request a customization service. However, if you are a developer and you are quite familiar with coding, Magestore POS is open-source, so you can customize the receipt as you expect.
Let’s take Magestore POS as an example here.
For developers
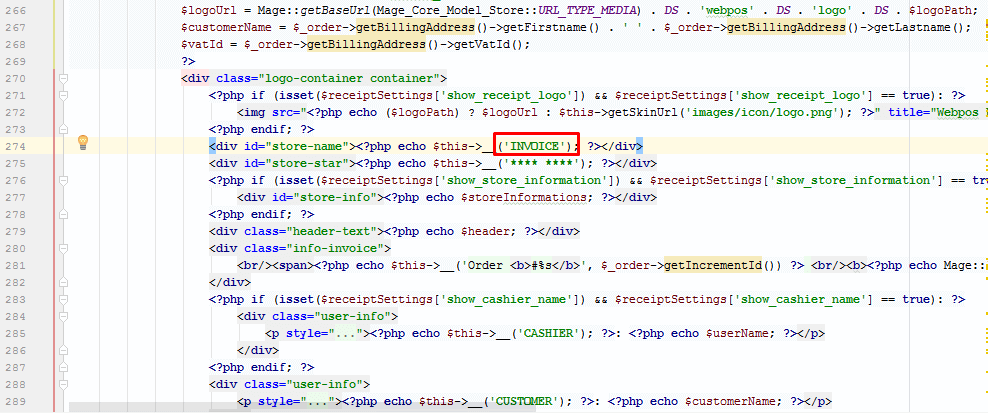
To edit the receipt format or translate language on receipt, please follow the link to modify code in the Magento web POS file:
‘root/app/design/frontend/base/default/template/webpos/webpos/orderlist/print.phtml’
For example, if you want to change the title from “INVOICE” to “RECEIPT”, you open the WebPOS file, follow the link above, then search the text you want to replace and edit.
For store owners
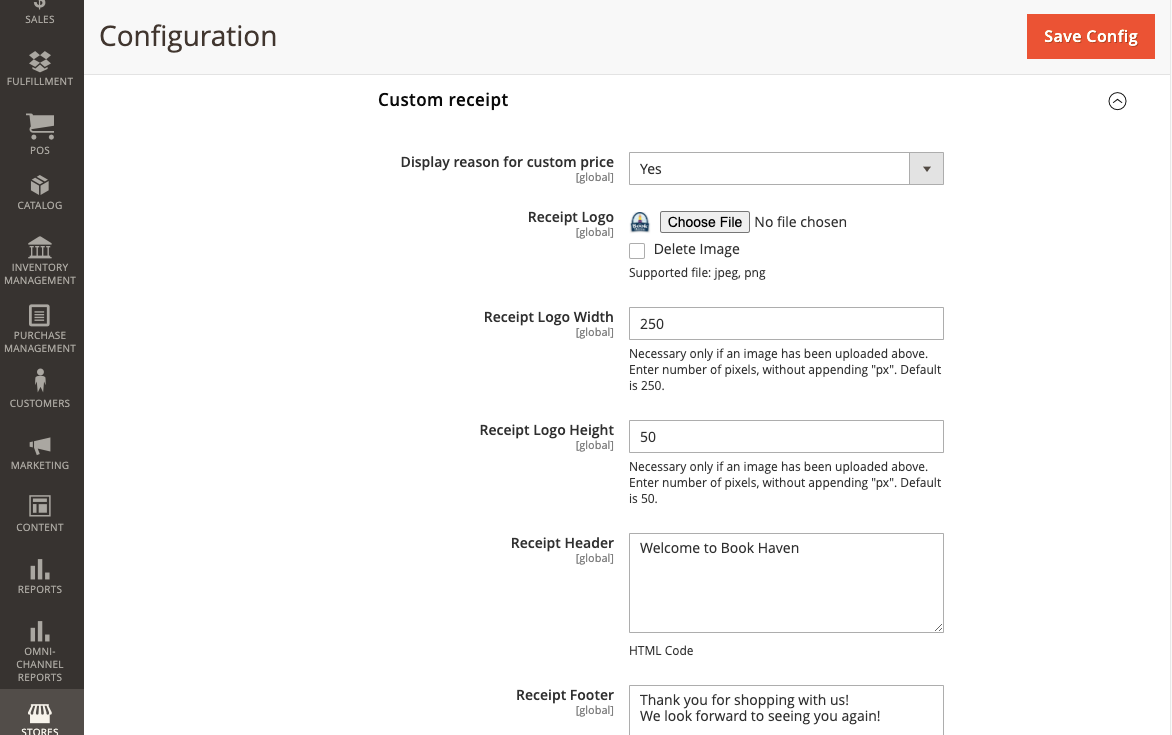
If you are not familiar with coding, there are some basic configurations you can do in the Magento backend for receipt printing. You go to POS and choose Settings. There are some cool ways to help you configure the POS receipt yourself:
- Receipt logo: Change the logo image and logo width in the receipt
- Receipt content: Change header/footer text
- Option fields: Choose Yes/No to show/hide some information from receipt like logo, store address,…
For other specific requirements
As we mentioned earlier, if the default configuration doesn’t satisfy you, you can request the customization service from the provider to help you build your own unique receipt.
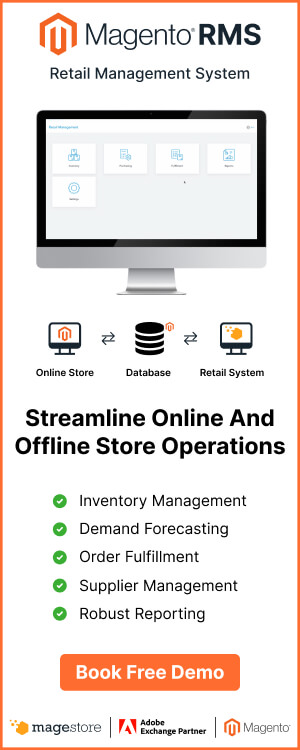
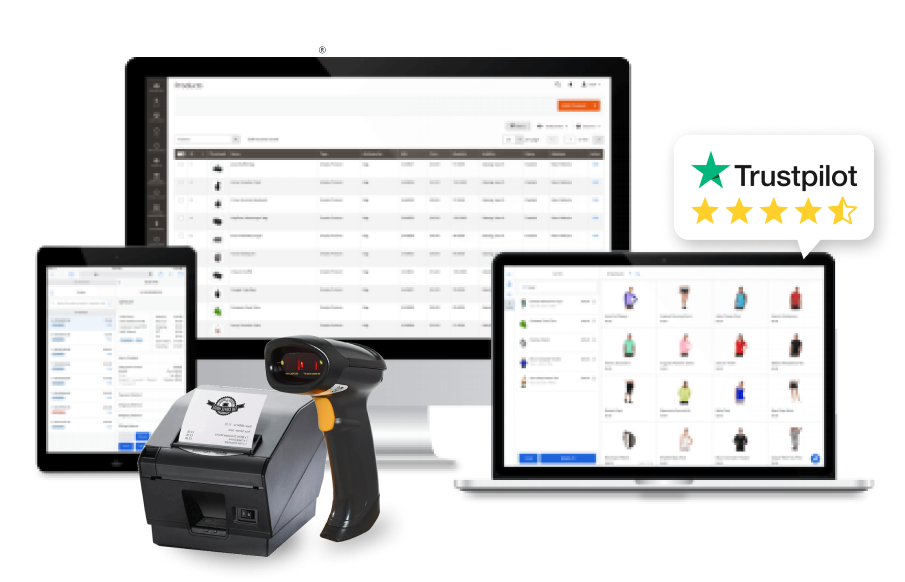
Explore solution: Most customizable & scalable POS for Magento merchants
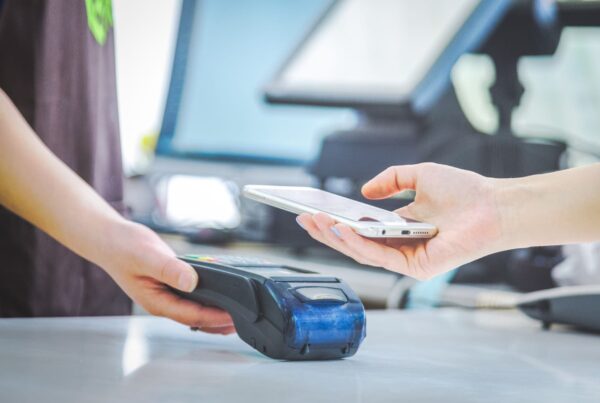
How to set up printer with Magento web POS
Have you finished integrating your Magento point of sale with other peripheral devices? It is quite simple to set up a receipt printer which is among the most common devices of any POS system. However, sometimes you got trouble with printer settings, likes the device keeps on pulling out paper after printing the receipt, the receipt is too long or too small. This article gives you some suggestions to create perfect receipts for customers.
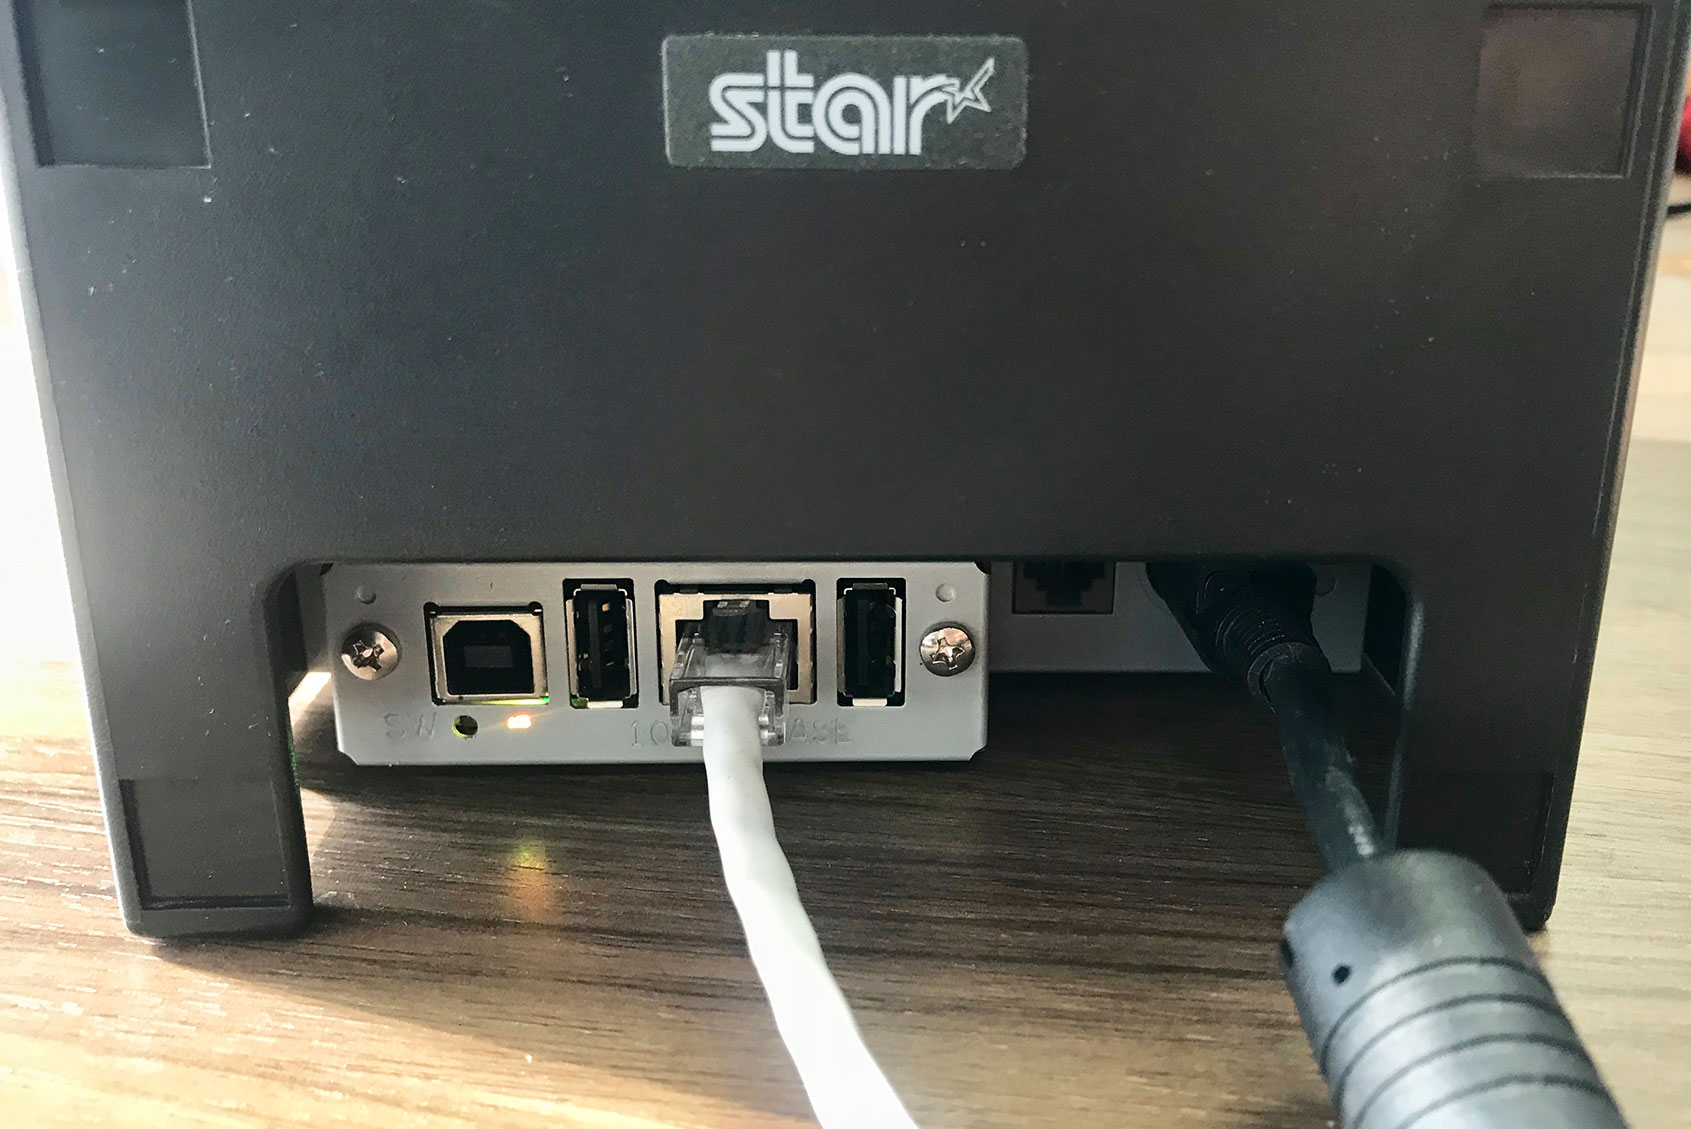
Magestore Magento Web POS is compatible with any receipt printers that connect with iPad, laptop, or PC through the USB port, wifi, or Bluetooth. We use Star Printer TSP650 for Windows to print the receipt. You can refer to this configuration for your printer settings.
To successfully set up a printer to print your receipt at the point of sale, you need to follow these important steps:
Step 1: Prepare the hardware
Before doing any setup works, you need to make sure the hardware is ready with the required materials.
Step 2: Download the latest version of the printer software
After you receive the hardware, you will need to download and install the latest Printer Driver Software. This is specialized software that helps the printer run correctly on your computer.
Step 3: Install the printer driver
When this download is complete, you need to install a driver like a normal application. With Star Printer TSP650, after you download the file, extract the file > Go to folder Setup > Run file Setup.exe.
Step 4: Connect the printer to PC
Once you’ve installed the printer driver, you will connect the printer with your computer by USB port or Ethernet depending on your printer type.
Step 5: Set the Printer to Default Printer
The app screen will display options for you to configure printer settings. Find the configuration to start setting the printer to default. And now you’re ready to test the device with new orders. The steps can be different depending on your POS printer hardware. So, you need to make sure to follow the instruction of each POS provider.

To sum up
If you need bigger changes to your receipt format, send us your details of customization. Our dedicated support team will study your requirements and come back to you with the solution in the shortest time!
Have fun with Magestore POS for Magento, if you meet any difficulty, don’t hesitate to raise your questions, we are always willing to assist you!